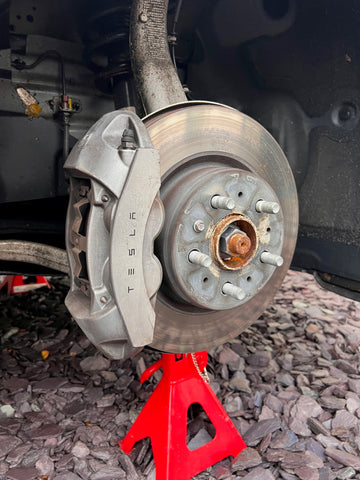
Step 1: The wheels are removed from the vehicle using axle stands revealing the brake calliper.
Step 2: The brake calliper is then cleaned using chemicals to ensure there is no grease left on the surface.

Step 3: The brake calliper is then wet sanded back to a flat finish in preparation for paint.

Step 4: The area surrounding the brake calliper is then masked and taped to ensure overspray doesn't reach unnecessary parts of the vehicle.

Step 5: 2 Layers of undercoat (primer) is then used to seal the calliper from rust. This also gives the top coat a great surface to bond too ensuring hardness.

Step 6: Once the primer is dried the top coat (in this case Brembo Gloss Red) is applied throughout a further 3 coats over the space of a few hours to ensure a thick coverage.

Step 7: Once dried, we then apply the vinyl sticker to the front face of the brake calliper and apply a thin layer of lacquer to seal the sticker to the brake calliper. Finally the masking tape and paper is removed to reveal a completely refurbished brake calliper.

Step 8: Once final checks are completed we then re-add the wheels to complete the job...the final results speak for themselves.

Refurbishing brake callipers to this standard allows us to offer a 12 month warranty from peeling and fading.
If you're interested in refurbishing your brake callipers please Call or WhatsApp on 07712 238329 and we'll be happy to assist.